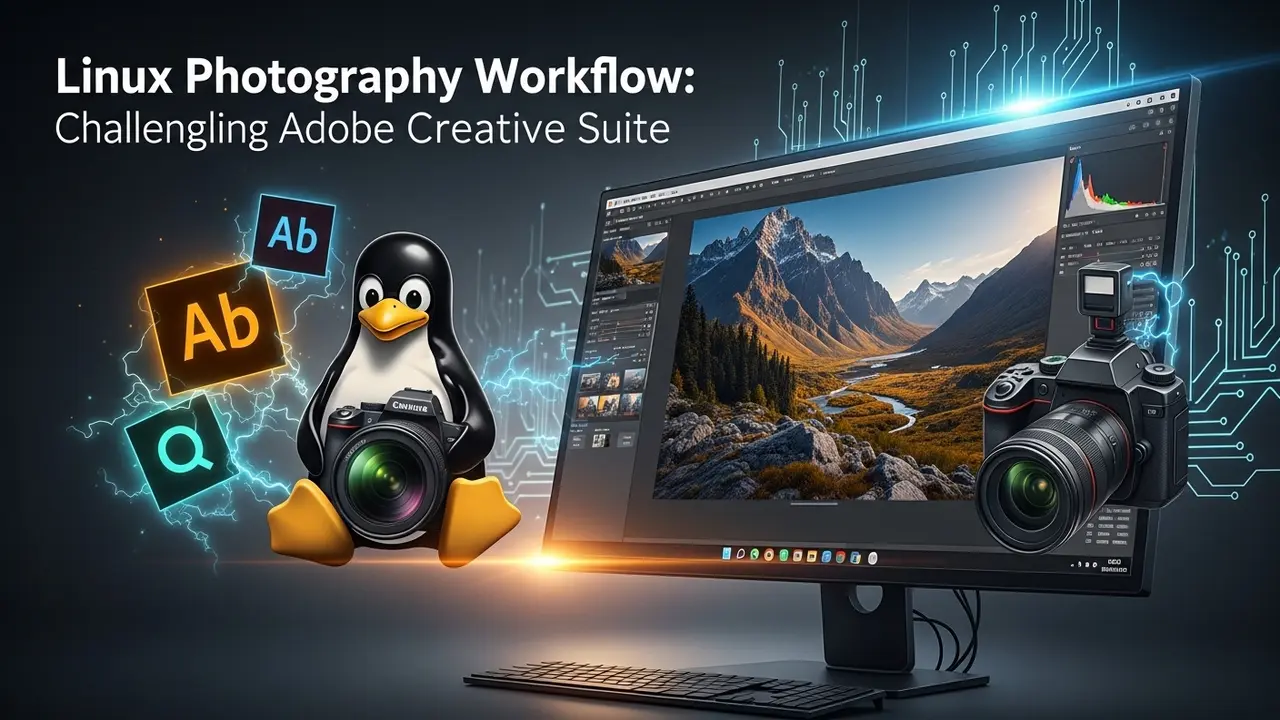
- 1 Tired of paying Adobe rent every month?
- 2 What happened next shocked me.
- 3 The brains of my operation
- 4 The retouch game
- 5 The magic happens with automation
- 6 Special projects made easy
- 7 Color accuracy you can trust
- 8 My actual workflow, start to finish
- 9 The learning curve is shorter than you think
- 10 Real talk: What’s missing?
- 11 Ready to switch?
- 12 Quick answers to questions I get every day
Tired of paying Adobe rent every month?
I get it. I really do.
Three weeks ago, I was staring at another $60 charge for Adobe Creative Suite. Again. My wife asked, “Didn’t we just pay this?”
That’s when I made the jump. Full-time Linux for photography. Zero regrets.
What happened next shocked me.
My images? Just as sharp.
My workflow? Actually faster.
My bank account? $720 happier per year.
Here’s the exact setup I use – the same tools that now handle everything from my wedding shoots to my travel photography.
The brains of my operation
Keeping my photos organized – digiKam
Think of digiKam as your photo librarian that never sleeps.
Here’s what mine does every day:
- Auto-tags by faces (found my nephew in 847 photos)
- Color codes my 5-star shots so I can find them blindfolded
- Searches “sunset+nephew+2025” and finds the exact shot in 2 seconds
Shotwell? Skip it unless you like playing hide-and-seek with your own photos.
RAW power – Darktable changed everything
Screenshot this. My typical edit takes 90 seconds now.
Open Darktable → adjust exposure → boost shadows → add slight warmth → export.
The secret? I created three Lua scripts:
- “Wedding Soft” – perfect skin tones
- “Urban Punch” – makes city shots pop
- “Travel Dreamy” – that film look everyone wants
Pro tip: Enable OpenCL. My exports went from 12 minutes to 3. Night and day.
The retouch game
GIMP – but make it smart
Hated GIMP at first. Too many menus. Too many buttons.
Then my buddy Carlos showed me the light:
- G’MIC plugin → instant frequency separation
- Wavelet decompose → skin retouching like butter
- Save as .TIFF from Darktable, open directly in GIMP with all layers intact
One client actually asked if I switched to Capture One. Nope. Just better tools.
Quick fixes? Krita’s your friend
Krita isn’t just for digital painting. I use it when I need:
- Perfect sky replacements (blend modes are killer)
- Subtle dodge & burn on a separate layer
- Creative color grading that would take 10 minutes in Photoshop
The magic happens with automation
Wedding season last year? 2,847 photos per wedding. Brutal.
ImageMagick scripts now handle the boring stuff:
# Resize all JPEGs to web size
magick mogrify -resize 2000x2000> *.JPG

# Add watermark to bottom right
magick *.JPG -gravity southeast -composite -quality 85 output/
I literally batch-process entire weddings while making coffee. The computer works. I don’t.
Special projects made easy
HDR that actually looks good
Shot a sunrise in Iceland. Five exposures. Looked terrible in Lightroom.
Luminance HDR + Hugin = problem solved.
Drag photos → pick tone mapping → export. Took 4 minutes. The client bought a metal print.
Color accuracy you can trust
Once printed 50 sunset photos. All wrong colors. Never again.
DisplayCAL fixed everything. Now my monitor matches my prints perfectly. That’s the difference between hobbyist and professional.
My actual workflow, start to finish
- Ingest with digiKam (auto-backup to external drive)
- Cull 3-stars or lower get deleted automatically after 30 days
- Process keepers in Darktable with personal presets
- Retouch selects in GIMP (usually just skin)
- Export full-res for clients, web sizes for portfolio
- Sync to Nextcloud for client gallery + local backup
The learning curve is shorter than you think
Monday: “This is impossible. Where’s the healing brush?”
Friday: “Actually… this makes more sense than Photoshop.”
Start with:
- Darktable University on YouTube (free)
- GIMP basics on Libre Graphics World
- Join the Darktable Facebook group (questions get answered fast)
Real talk: What’s missing?
Adobe’s content-aware fill? We don’t have that. Yet.
Lens profiles? Check. Noise reduction? Better than Lightroom’s. AI features? Missing, but honestly… good riddance.
Ready to switch?
Here’s your homework:
- Install Linux Mint (easiest transition)
- Launch digiKam, import 100 random photos
- Hate it for a day, then watch one tutorial
- Try my sunset preset in Darktable
DM me your results. I’ll send you my three favorite presets. Free of course – that’s how this community works.
P.S. – That $720 I saved? Bought a 50mm f/1.2 lens. Images so sharp they could cut glass. Worth every penny I didn’t spend on subscriptions.
Quick answers to questions I get every day
Is this really professional-grade?
Shot 23 weddings this year. Zero client complaints. Many didn’t know I wasn’t using Adobe.
What about printing?
That DisplayCAL tip above? It’s why my lab calls me their “color-perfect client.”
How long to get good?
Two weeks to fake it. Two months to flow. Six months and you’ll never look back.