Is Your Online Privacy a Myth? The Truth About Public Wi-Fi
Ever get that funny feeling in your stomach when you hop onto public Wi-Fi? Like at a coffee shop, the airport, or even a hotel? You’re not alone. And that feeling? It’s probably your gut telling you something important.
Here’s a scary thought: By next year, cybercrime could cost us a mind-boggling $10.5 trillion every single year. Yes, trillion. That’s a huge number, right? It means your quick online check-in, your emails, even your banking details, could be totally exposed. Anyone with some basic tech know-how could be watching. This isn’t just paranoia. This is real life.
Today, our personal info is like gold. And big companies? They’re constantly fighting off hackers. So, what about you? Keeping your own digital stuff safe has never been more critical. Think about it: every time you log in, every search you make, every private message you send over an open network… it’s like putting a big “Steal Me!” sign on your data. Are you really okay with leaving your digital footsteps out in the open for bad guys to see? And with new AI tools making surveillance even easier, every second you spend on an unprotected connection ups your risk. This isn’t some far-off threat. It’s happening now.
Why Ignoring Online Security Is a HUGE Mistake
Imagine this: you log into your bank account, and poof! All your money is gone. Or maybe your identity gets stolen, used to open credit cards you know nothing about. You could be stuck in a financial nightmare for years. This isn’t just about losing a password. It’s about losing your peace of mind, your financial stability, even your good name.
Think of it like this: your unprotected internet connection? It’s like sending a postcard through the mail. Anyone can read it. But a Virtual Private Network (VPN)? That’s like sending your message in a locked, armored truck. Big difference, right?
Without this “digital armor,” you’re basically walking around with your wallet wide open. You’re inviting trouble. What’s worse? You might even start censoring yourself. Maybe you avoid searching for certain things, reading certain articles, or talking to certain people. All because of that nagging fear of being watched. That’s not digital freedom. That’s digital lockdown.
Did you know companies, even governments, track what you do online? They build detailed profiles about you. This data isn’t just for annoying ads. It can be used for way creepier stuff. It could affect everything from getting a loan to even how you see the world.
Doesn’t that make you feel a little uneasy? The simple truth is: if you’re not actively protecting your online presence, you’re leaving a giant hole for others to sneak through. The longer you wait, the more vulnerable your whole digital life becomes. This isn’t just about hiding secrets. It’s about taking back your basic right to privacy in our digital world.
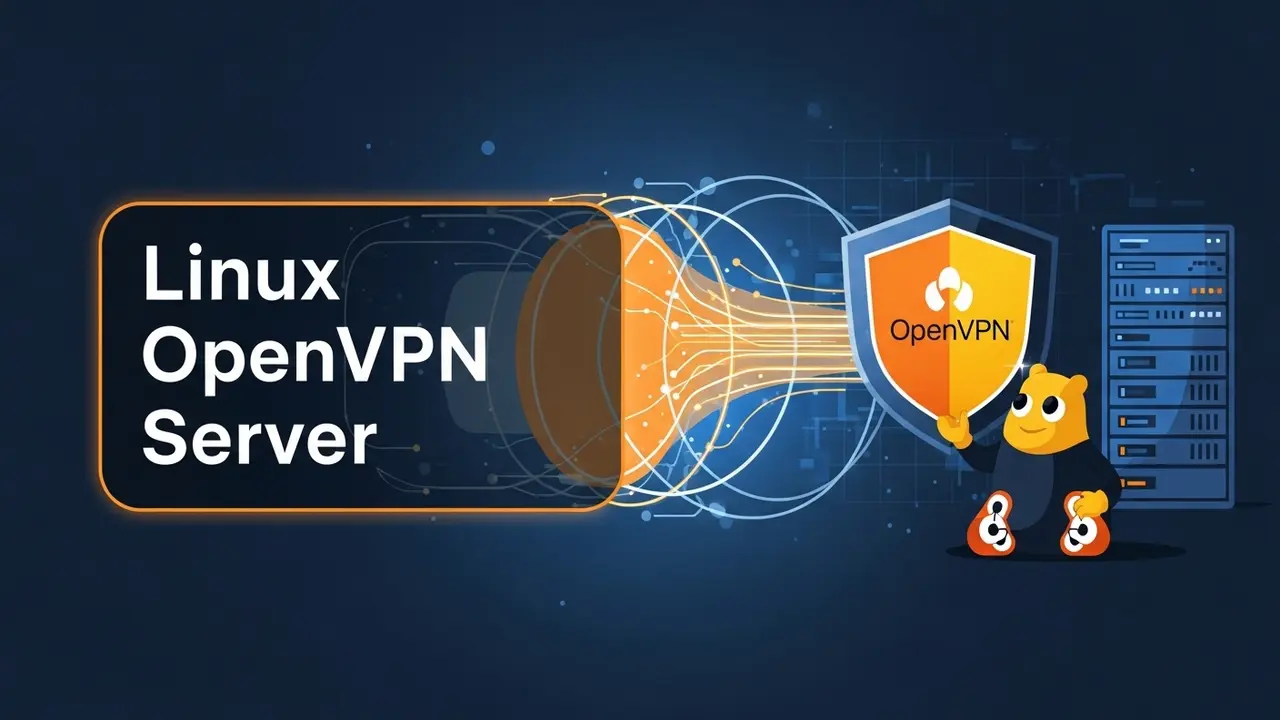
Your Own Digital Fortress: Building a Linux OpenVPN Server
The good news? You don’t have to live in this constant state of digital worry. You can take control. Setting up your very own Linux OpenVPN server is a powerful, smart way to secure your online life. Unlike those commercial VPN companies who still hold onto your data, having your own server means you have total control over your encrypted traffic. This isn’t just about privacy. It’s about empowering yourself.
Picking the Right Linux for Your Server
First things first, you’ll need a solid Linux system for your server. My top picks? Ubuntu Server, Debian, and CentOS. These are like the reliable workhorses of the Linux world. Why? They’re super stable, and they have huge communities ready to help if you hit a snag.
For best results, you might want a low-cost virtual private server (VPS) from a trusted provider. Think of it as renting a small piece of a powerful computer in a data center. Or, if you’re feeling adventurous and want something for home, even an old Raspberry Pi can do the job! You don’t need super fancy hardware. The main thing is that your server is always on, ready to protect your connection whenever you need it.
Want to dig deeper into choosing the best Linux for your needs? Check out our insights on selecting the right Linux distribution.
Setting Up Your Linux OpenVPN Server: A Quick Guide
Okay, the heart of your new private network will be the OpenVPN software itself. Here’s a simplified breakdown to get you started. Don’t worry, it’s not as scary as it sounds!
- 1. Update Your System: This is step one for *any* server setup. Always make sure your server’s software packages are totally up-to-date. It’s like making sure all the locks on your fortress are new and strong.
sudo apt update && sudo apt upgrade -y
- 2. Install OpenVPN and Easy-RSA: OpenVPN is your main security guard. Easy-RSA? That’s the tool that helps you manage the special digital “passports” (called SSL/TLS certificates) your VPN needs. These passports are what make sure your data is encrypted and only your server and devices can talk to each other securely.
sudo apt install openvpn easy-rsa -y
- 3. Set Up Your Certificate Authority (CA): This is like setting up your own passport office. You’ll go into the Easy-RSA folder and initialize your Public Key Infrastructure (PKI). This “office” is the ultimate trusted source for all the digital passports your VPN will use.
cd /etc/easy-rsa
./easyrsa init-pki
./easyrsa build-ca nopass
- 4. Create Server Certificate & Key: Next, you’ll create the server’s own digital passport and a special secret key. Then, your “passport office” (the CA you just made) will sign it, making it official. Remember, these strong cryptographic keys are the absolute foundation of your VPN’s security. They’re like the uncrackable code for your armored truck.
./easyrsa gen-req server nopass
./easyrsa sign-req server server
- 5. Generate Diffie-Hellman Parameters: This step adds an extra layer of super-duper security. It creates a special “secret handshake” key that makes it way harder for anyone to eavesdrop on your encrypted chats. This part can take a little while, so grab a coffee!
./easyrsa gen-dh
- 6. Create OpenVPN Server Configuration: You’ll copy some example configuration files and then tweak them to fit your setup. This is where you tell OpenVPN which digital doors (ports) to use, what rules to follow (protocols), and how your network should behave. You’ll also need to enable something called IP forwarding. What’s that? It basically tells your server to pass network traffic between different networks – crucial for your VPN to actually *forward* your device’s traffic through the secure tunnel and out to the internet. Pro Tip: Try using a different UDP port than the usual 1194. Why? It’s like changing your front door from the usual one on the street; it makes your server less of an obvious target for attackers.
- 7. Start and Enable OpenVPN Service: Finally, you’ll fire up the OpenVPN service and tell your server to always start it automatically when it boots up. This makes sure your private network is always ready to go, like your fortress always having its lights on.
sudo systemctl start openvpn@server
sudo systemctl enable openvpn@server
For more detailed configuration examples and troubleshooting, the official OpenVPN documentation is your best friend. It’s updated constantly by a dedicated community, so you’ll always find good advice there. Following best practices here is key for top-notch security!
Connecting Your Devices: The Client Side
Alright! Your Linux OpenVPN server is up and running smoothly. Now, how do your laptop, phone, or tablet connect? Easy. You’ll use Easy-RSA again to generate a unique digital passport and key for *each* device. Then, you’ll bundle all that info into one simple file, usually ending in .ovpn. This file is like a special keycard that tells your device exactly how to connect to your private fortress.
There are great OpenVPN apps for Windows, macOS, Android, and iOS. All you do is import your .ovpn file into the app, and boom! You’re connected. You’ll immediately feel the difference of truly secure browsing. Your real IP address? Hidden. Your online activity? Shielded. It’s a game-changer for your peace of mind.
Want a deeper dive into setting up your devices? Our guide on configuring OpenVPN clients across devices has got you covered.
Next-Level Security: Advanced Tips
Setting up the basic VPN is great, but let’s make your Linux OpenVPN server even tougher! Here are a few ways to really lock it down:
- Firewall Rules: Set up strong firewall rules using tools like
UFWoriptables. Think of it as putting up an invisible wall around your server, only allowing VPN traffic through. Nothing else gets in or out without your permission. - Keep it Updated: Regularly update your server’s operating system and the OpenVPN software itself. These updates often include crucial security fixes, patching up any newly discovered weaknesses before hackers can find them.
- Multi-Factor Authentication (MFA): For logging into your server, consider using MFA. That means you need something you *know* (your password) and something you *have* (like a code from your phone) to get in. According to the U.S. National Institute of Standards and Technology (NIST), strong authentication like MFA is one of the best ways to fight cyber threats.
- Backups, Backups, Backups: Don’t forget to regularly back up your important certificates and configuration files. This is your “get out of jail free” card if something goes wrong. You’ll be able to restore your VPN quickly.
Taking Back What’s Yours: Your Digital Autonomy
By taking the leap and setting up your own Linux OpenVPN server, you’re doing much more than just creating a secure connection. You’re building your very own personal stronghold against the endless digital threats out there. It’s a real investment in your peace of mind and, honestly, your digital freedom.
This proactive step in cybersecurity empowers you. You can browse, chat, and shop online with confidence. You’ll know your data is protected. So, isn’t it time you stopped being a potential target? Isn’t it time you started being in control?
Got Questions? We’ve Got Answers!
- What exactly is OpenVPN, and why is it such a big deal for privacy?
- OpenVPN is like a special, secure tunnel-building software. It creates a Virtual Private Network (VPN) connection. Why’s it important? Because it scrambles (encrypts!) all your internet traffic between your device and your VPN server. It’s like putting all your online activity in a secret code that only you and your server know. This stops anyone else – like your internet provider or that dodgy public Wi-Fi – from peeking at what you’re doing, keeping your data safe and your online actions private.
- How is a self-hosted Linux OpenVPN server different from those commercial VPN services I see ads for?
- Think of it this way: with a commercial VPN, you’re trusting *their* company with your data, hoping they stick to their “no-logs” promises. But with your own Linux OpenVPN server? You’re the boss. You control everything. There’s no third party involved. This means you get a much higher level of trust and can customize things exactly how you like. The trade-off? You handle the technical setup yourself.
- What do I need to get started with setting up an OpenVPN server on Linux?
- You’ll need a Linux-based computer that’s always on. This could be a physical machine, a low-cost virtual private server (VPS) that you rent, or even a tiny Raspberry Pi. It needs its own public internet address. You’ll also want some basic comfort with using Linux commands (the terminal) and a general idea of how networks work – things like IP addresses, ports, and firewalls. And, of course, reliable internet for your server is a must so your VPN connection is always stable.
- Is it hard to keep a self-hosted OpenVPN server running once it’s set up?
- The initial setup of a Linux OpenVPN server does require a bit of technical effort. It’s like building the foundation of your house. But once it’s done, ongoing maintenance is usually pretty simple. Mostly, you’ll just need to keep your Linux system and the OpenVPN software updated to stay secure. You might also glance at server logs now and then for any weirdness and create new client passports (certificates) when you add a new device. You can even use tools like “cron jobs” to automate some of these routine tasks, making it even easier!
- Can I use my own VPN to access stuff that’s blocked in my country or region?
- Absolutely! If your Linux OpenVPN server is located in a different country or region than where you are, it can totally help you bypass those “geo-restrictions.” When you connect to your server, it makes it look like your internet traffic is coming from the server’s location. So, yes, you can get to region-locked content or services, just like with a commercial VPN. The cool part? You’re in charge of the server, not some company.
- What are the security perks of using OpenVPN specifically?
- OpenVPN is a security superstar! It uses really strong encryption (like AES-256, which is basically military-grade). It supports different ways to prove you are who you say you are. And here’s a big one: it’s “open-source.” What does that mean? Its code is public, so security experts worldwide can check it for flaws. This transparency makes it incredibly trustworthy. So, for keeping sensitive data safe and staying anonymous online, OpenVPN is a top-notch choice.
- How do I add new phones, laptops, or other devices to my OpenVPN server?
- Adding a new device to your Linux OpenVPN server is a breeze once you’re set up. You’ll use Easy-RSA on your server to create a unique digital passport and secret key for that specific device. Then, you bundle these new keys with your server’s main “passport” (CA certificate) and your OpenVPN configuration into a single
.ovpnfile. Just securely get that file onto your new device, import it into an OpenVPN client app (like the ones for Windows, Android, etc.), and voilà! Your device is now part of your secure private network.